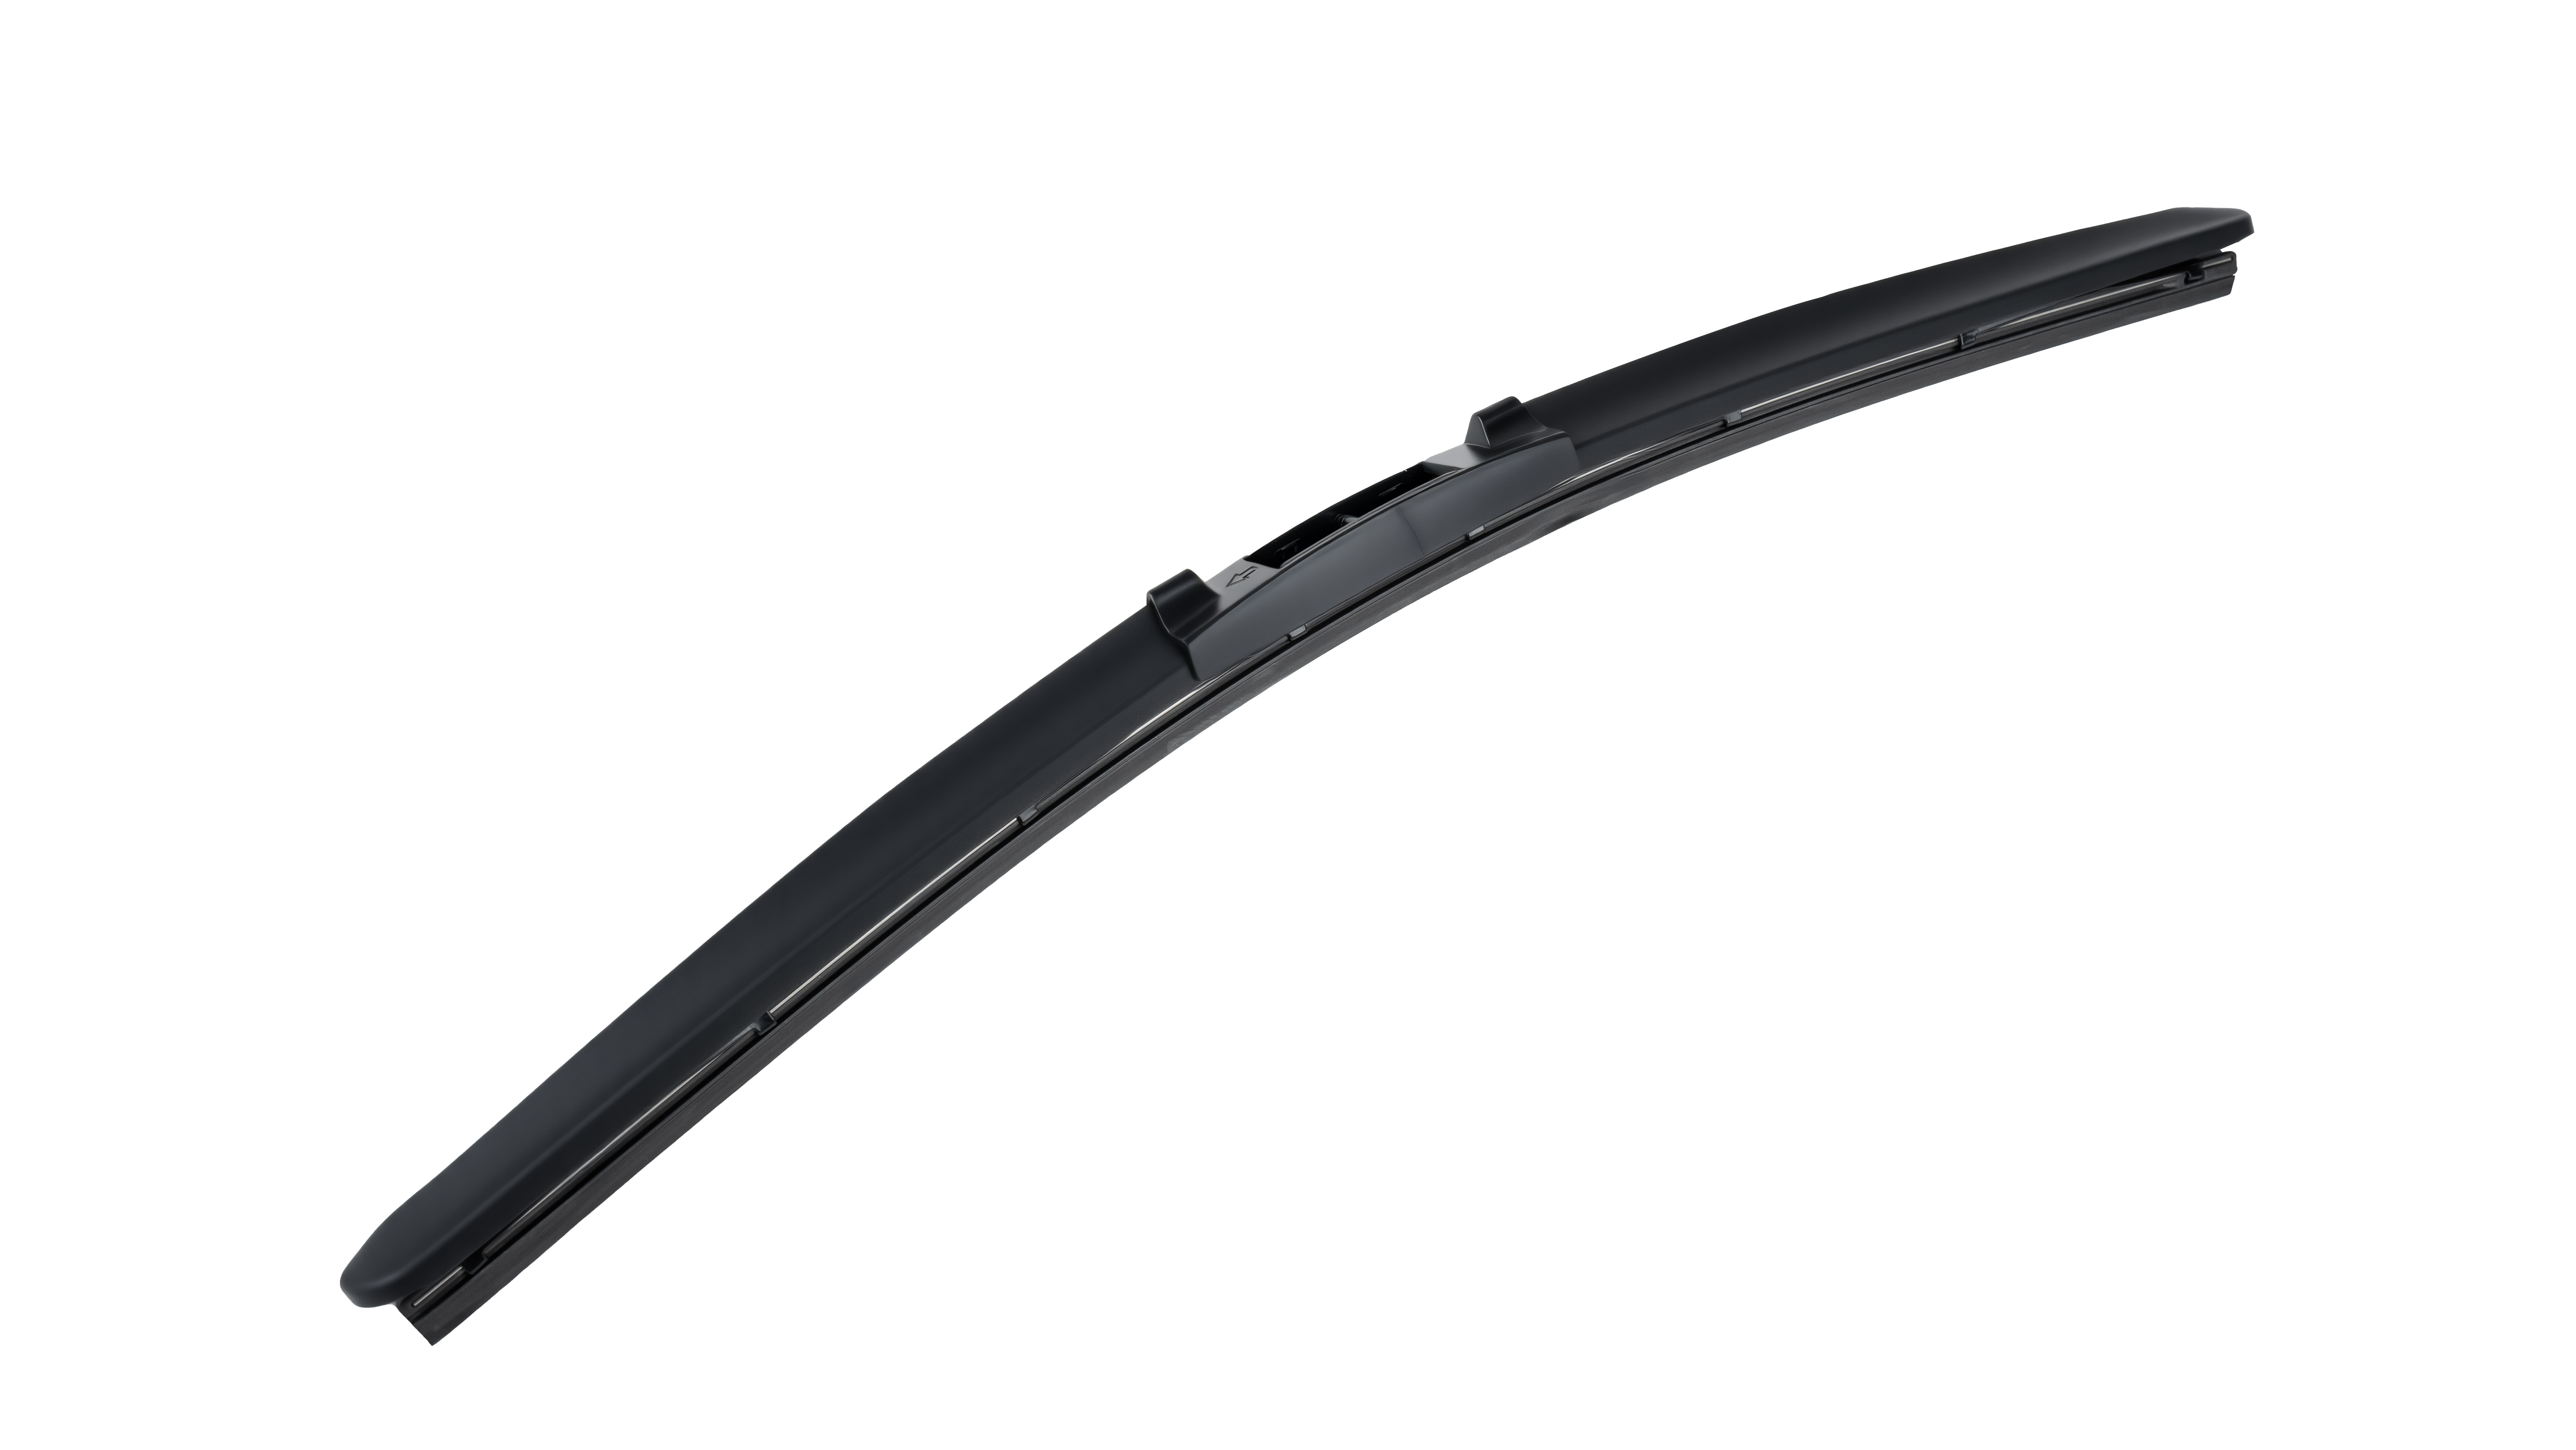
Photograph Wiper Components for a Useful Product Review
Published by QINAI (瑞安市汽耐雨刷制造有限公司).
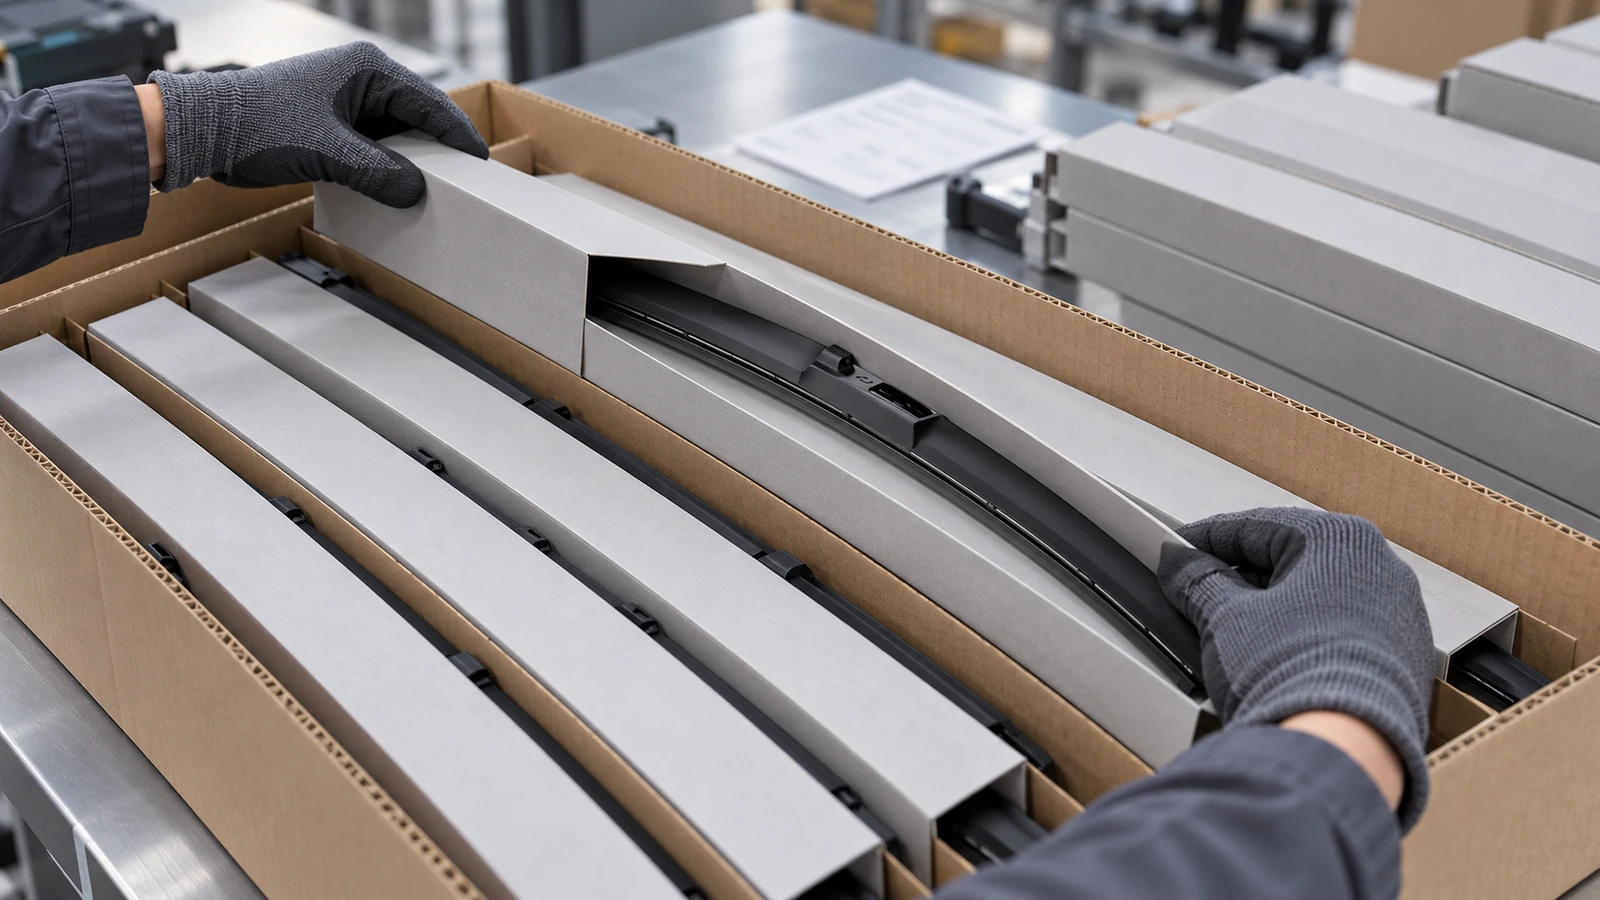
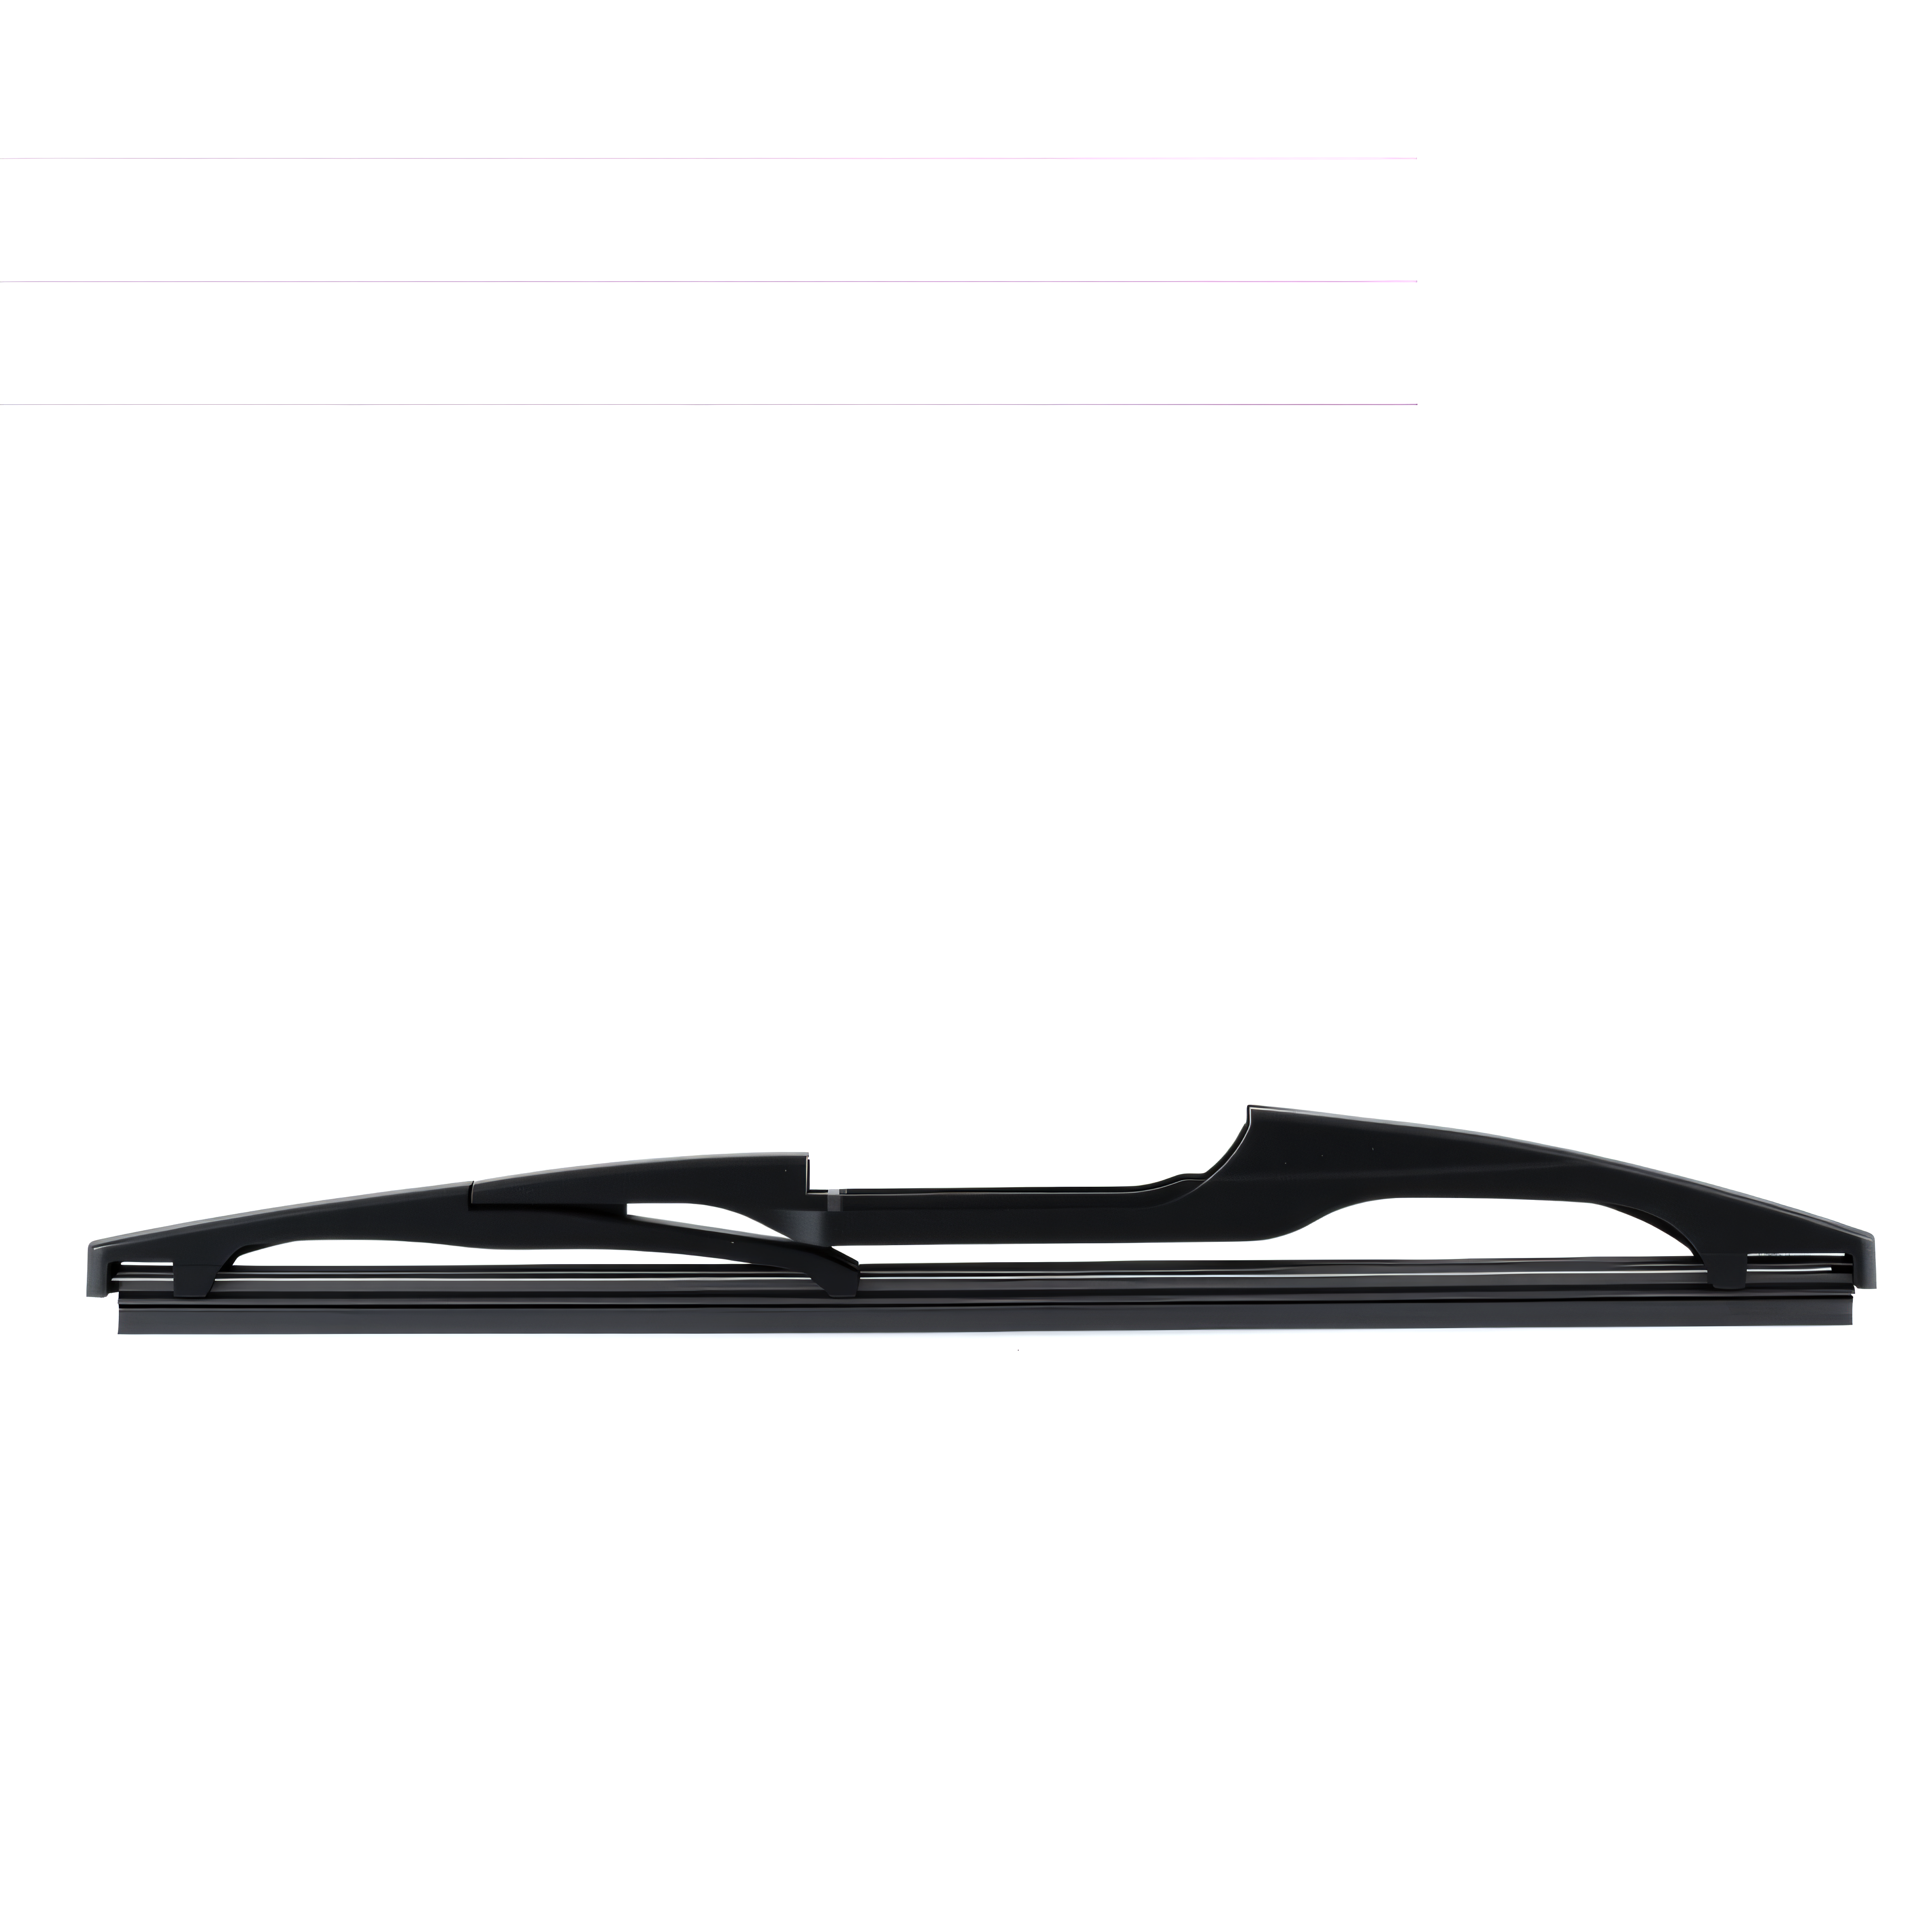
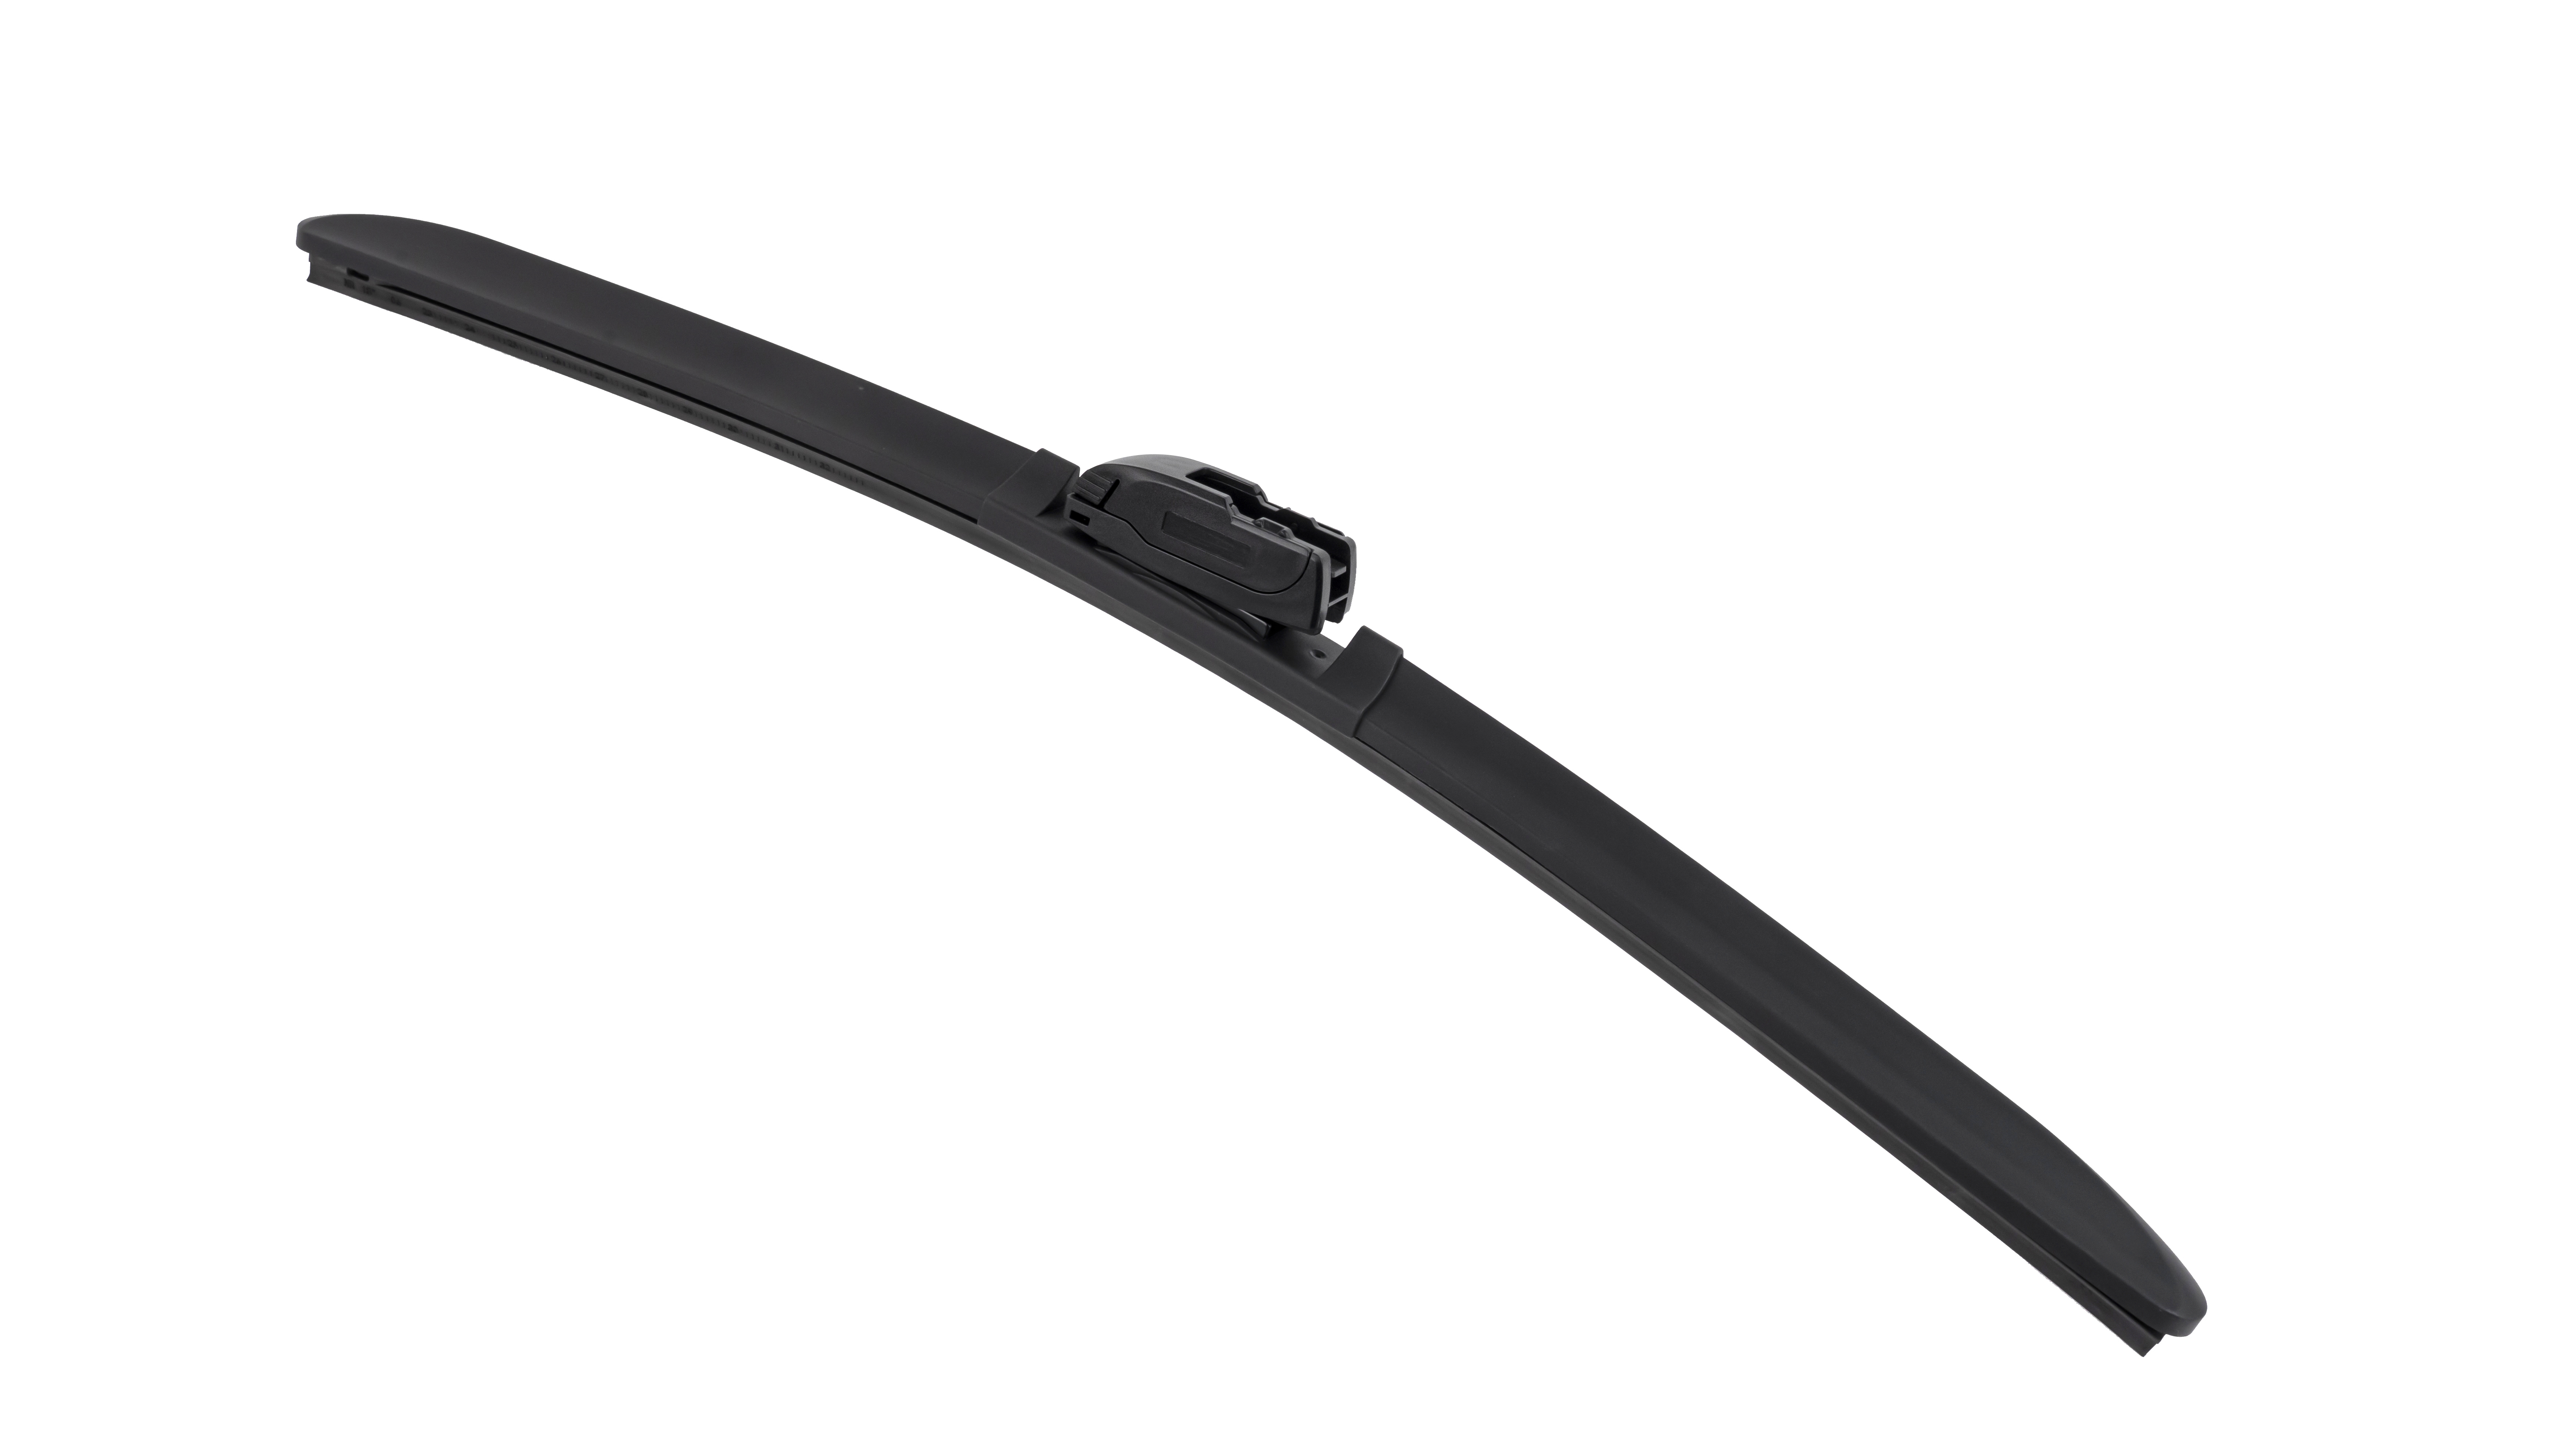
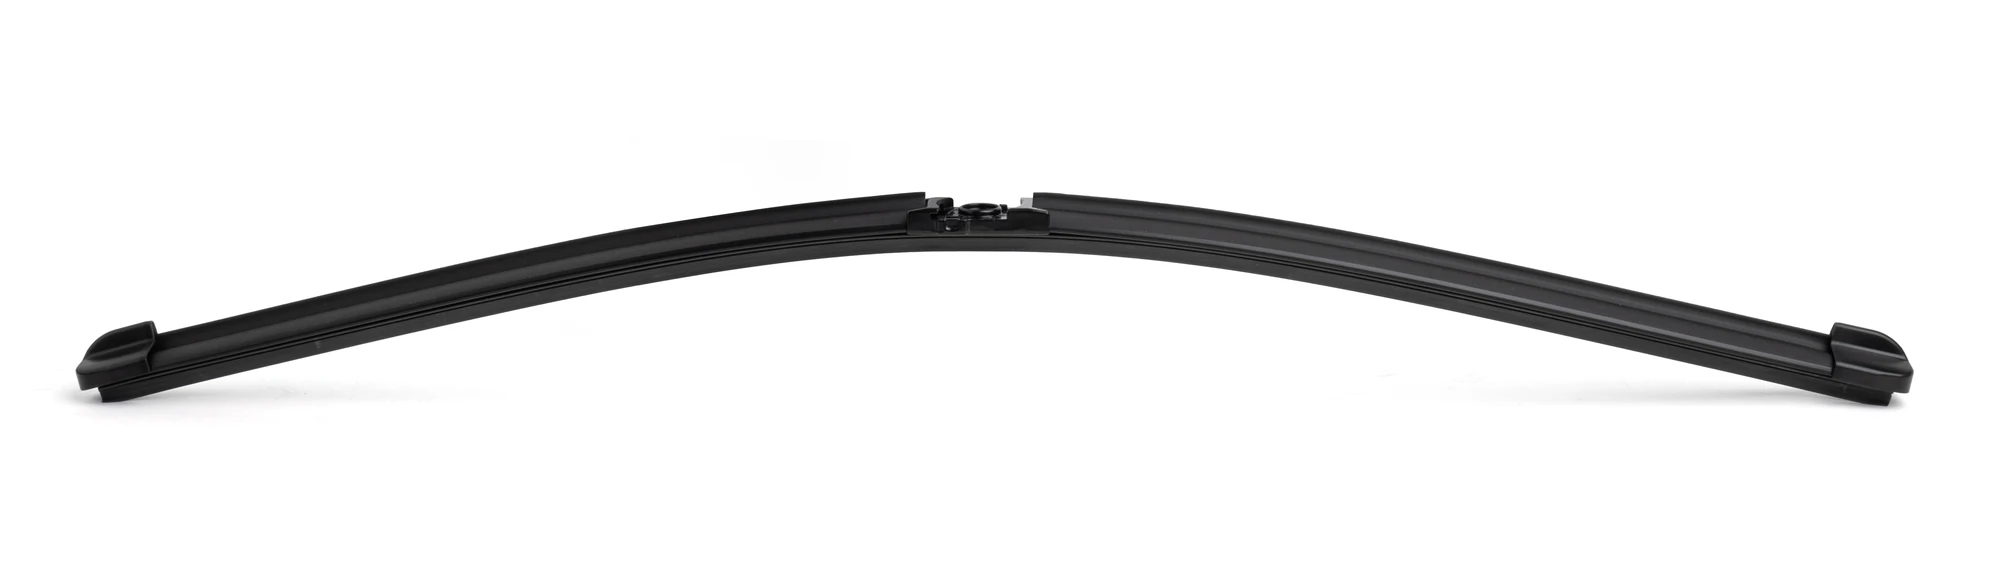
Component photographs should help another person identify the item and locate the feature being discussed. A consistent set of overall and detail views is more useful than a single close-up with no orientation or sample reference.
Which views should be included?
Place a sample ID beside the part and retain it across the image set. Photograph the complete part before moving to the connection, latch and underside. For black components, use a plain background and soft lighting so glare does not hide edges.
| View | What it should explain |
|---|---|
| Overall | The complete item and its outline |
| Side | Height relationships and projecting features |
| Underside | The mating opening and locating features |
| Connection detail | The exact latch, pivot or contact area under discussion |
Give every photograph one clear job
Begin with a view that establishes the complete item and its orientation. Then move closer to the feature being discussed. A tight image of a latch may show its edge well but leave the reviewer unable to tell which side of the assembly it belongs to. Include enough overlap between the overall and detail views to connect them.
For several samples, use a separate labelled image group for each one. Do not alternate unlabelled photographs of similar parts in a message. A temporary identifier such as Sample A is sufficient until the catalogue model is established; inventing a model match early creates more confusion than leaving identification open.
Show relationships, not only surfaces
A connection question often needs both mating parts. Show them separately where the instructions allow safe separation, then show the relevant installed relationship. If the concern is interference, include the neighboring surface and the stage where contact occurs. A photograph of the connector alone cannot show an obstruction created by the arm or blade body.
Avoid changing the part to make the photograph look cleaner. A cracked edge, displaced feature or missing piece belongs in the evidence. Identify it in the caption so it is not mistaken for the original shape. Keep an unmarked original alongside any version with arrows or comments.
Make small details readable
Use enough light to reveal edges without creating a bright reflection across the connection. Keep the camera steady and choose a view that exposes the relevant face. A ruler can indicate approximate scale, but perspective and depth prevent it from establishing every dimension accurately. For a measurement question, add the measured feature and method separately.
How should dimensions and observations be marked?
Use arrows to identify a location, and keep measured values separate from questions. State the measurement method and reference points when supplying a dimension; a ruler in a perspective photograph is not a dimensioned drawing. A damaged feature should be identified as damaged rather than treated as the original design.
What can catalogue photographs establish?
The B-S14C2 gallery, for example, provides an existing visual reference for that catalogue model. A photograph can support identification and discussion of visible features. Material grade, dimensional tolerances and vehicle fitment require their own confirmation records. Link your images to a sample review so the question, observation and final decision remain traceable.